Card: "You're the Fairest of Them All"
Start with a steel rule die with the shape you'd like to cut. I'm using these two dies from Tim Hotz. Yes, it's two dies. The large frame has an opening with a metal base. The inset piece has magnets on the back that hold it nice and snug.
Back to the tutorial
Simply measure how large of a piece of chipboard you'll need to cut. Here I'm looking at 4 1/2 inches wide.
I picked my cardstock....which can take hours and hours. Gyah! What happened to those early days when I didn't have that big of a selection to chose from. Eh... wouldn't trade em for the set up I have now. :-)
Note I also cut a piece of chipboard 4 1/2 inches wide. I used a nice and sturdy piece that came from some package of paper. I just save those for work surfaces and for, well, THIS.
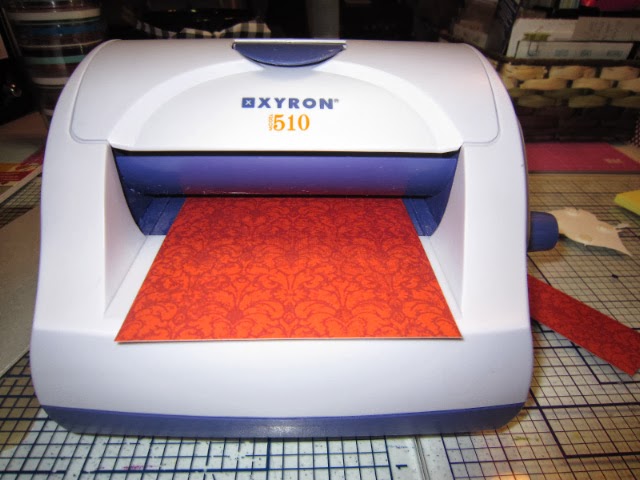
Here's the trick. Run your paper through your Xyron. It gives you a nice uniform coverage and is fast. No drying time. If you don't have a Xyron, use a quick drying wet adhesive for good coverage and to keep your paper from warping.
Out of the Xyron
Adhering it to the chipboard.
Nicely adhered.
Run it through your die cutting machine. A Sizzix or Cuttlebug work great.
Separate out the die
And you have a piece that you could use as is, but I want to do away with those brown chipboard edges.
I use a marker, in this case a Tim Holtz Disress marker to color the edges. Great color match to the paper.
I also use a sponge and some Distress ink to add a bit of ink to the edges of the paper on the chipboard. That way if there's a slight color difference from the paper to the marker I'm using, it blends it all in.
And your frame is done.
And here it is used on a card with mirror paper that I get in the craft department in large sheets and cut down. As I was putting this together, I did note to myself that this frame is a bit large for this card and could use a larger canvas. I may move it sometime in the future.
Oh and note to self. Don't take a picture straight on when using this incredibly reflective mirror board. My hands are right under this devil's head. It almost looks like a selfie. Oops.
Papers by Little Yellow Bicycle and Authentique Cardstock by Stampin' Up.
Stamp is from Bombshell Stamp's Cherry Bomb set.


No comments:
Post a Comment