full screen background image

Saturday, 19 November 2011

Rocking out Backgrounds

I love using stamps to make background patterns for my cards and layouts and the Bombshell stamps always have perfect images to match my themes.

Link(using the "Island girl" set)

(using the "Homeward Bound" set)

The easiest way of doing it is to pick a tonal colour and stamp away - I often use left over printer paper under mine so I can stamp over the edges. I also try to make them as random as possible Linkbut that doesn't always work.

(using the "Speed Shop" set)

You can use the stamps to keep your theme going or to emphasis a theme. I enjoy making them for card especially as you can make a whole bunch up before hand and then cut to size.

(using the "Fathers Day" Digital set)

and don't forget about the digital stamps that Bombshell make as they are super easy to set up as a repeating pattern as they can be re-sized to suit your needs.

(using the "Island girl" set and the background is using the "Pin Stripes" set)

Using stamps as a background helps when you have limited supplies and want to make different textures and patterns. I used just two ink pads for the above card which helps when you do not want to colour in a whole image.
I hope I've given you a little inspiration to try using your stamps for more than just the focal images on your artwork.

Have fun!
Anam

Friday, 18 November 2011

Bombshell Tutorial with Kelli


Hello Lovely Bombshell lovers!  It’s Friday and that means it’s time for another tutorial!  Today I am sharing with you a Center Step card I thought would be fairly simple to make during the Holiday season! I had made one of these a long time ago and when looking through old photos to get some inspiration I found it and decided to give it another go!  We all know we always have tons of cards to make so why not make some that look like they take forever but really don’t take a lot of time at all!  This card I made for the Tutorial took 20 minutes.  Coloring, putting together, and taking pictures of each step.  So I am sure if you don’t take pictures of each step it won’t take you nearly as long!!!

Supplies needed:
One 5 1/2” x 11” piece of cardstock
Scoring tool
paper trimmer
adhesive
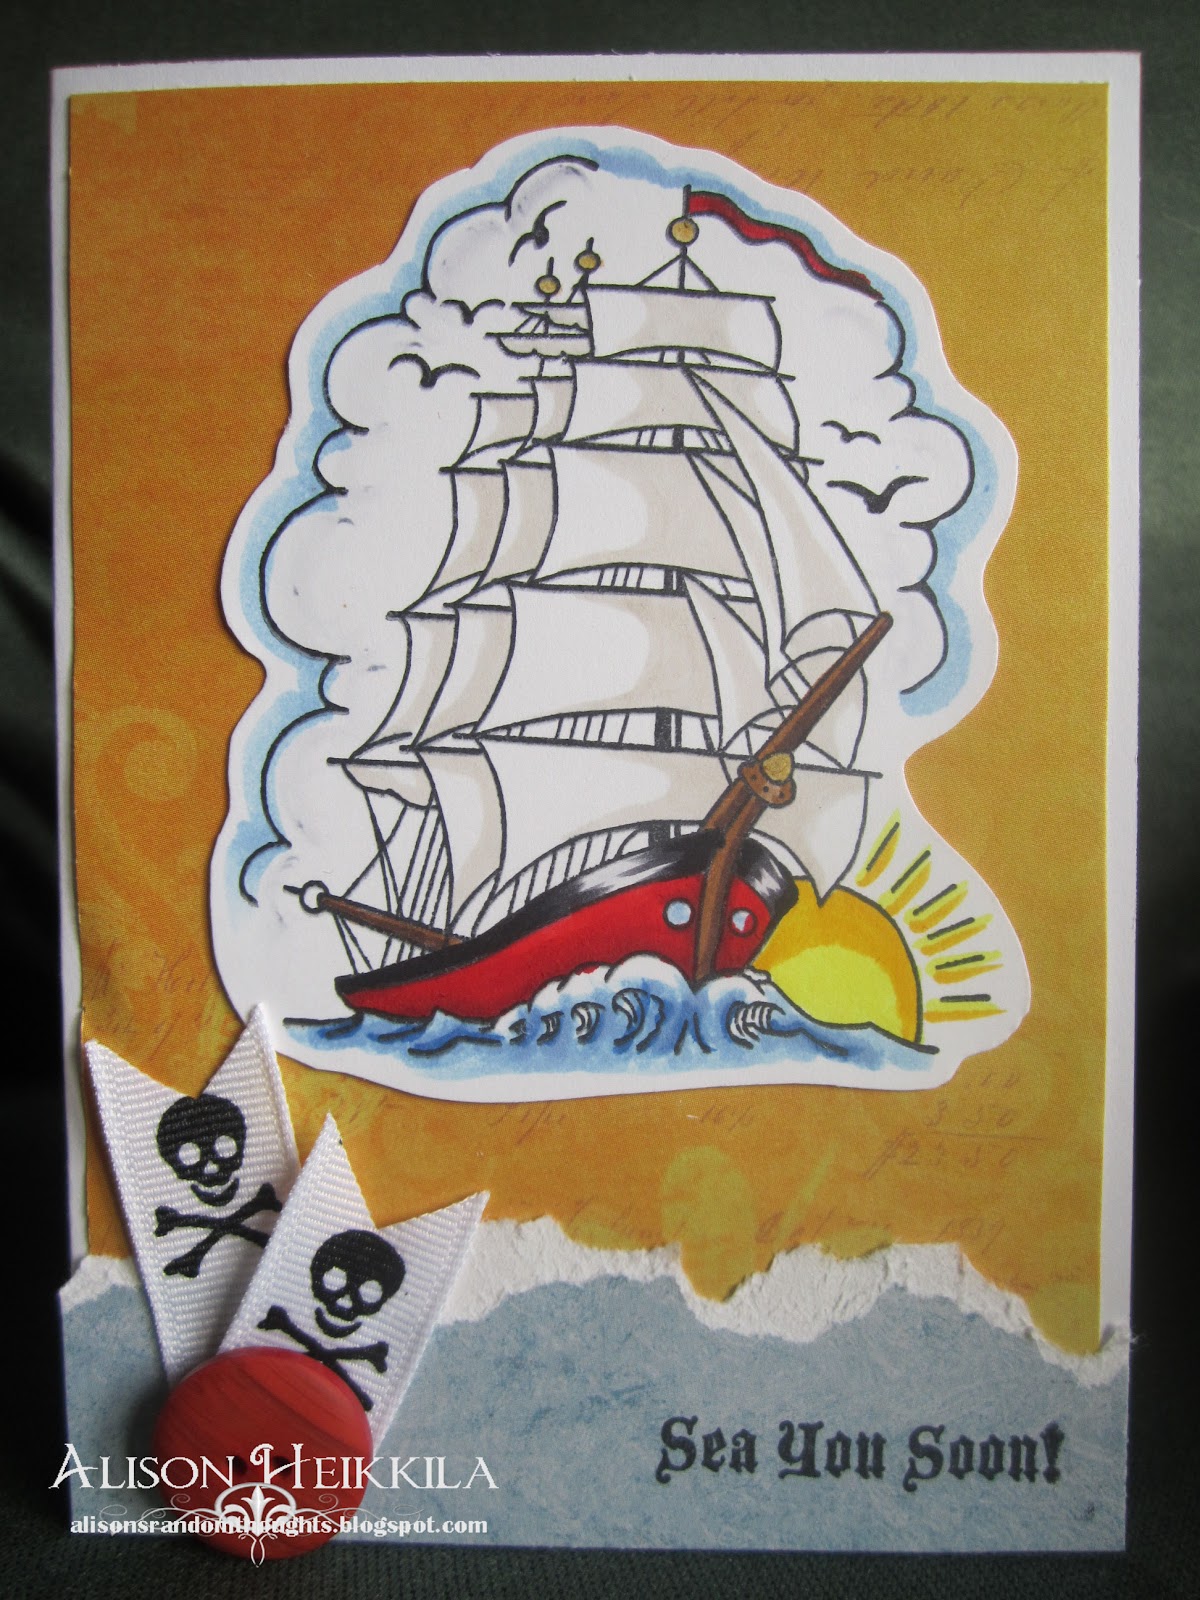
stamps of choice, I used A Pirates Life
ink
additional cardstock, decorative paper and embellishments to decorate! 


IMG_1256
IMG_1257
IMG_1258
IMG_1259
IMG_1260
IMG_1262
IMG_1261
IMG_1263
IMG_1264
IMG_1265
IMG_1266

Thursday, 17 November 2011

I Just Love Retro!


Whew! I think I've finally run out of that retro paper! Here is another scrap card from me using the Butterfly Queen set. I love the bombshell in this stamp set because it is so easy to create relatively simple cards with her. Here I used just some scraps of that same paper I've been using for awhile. On the edge I used stickers from that same set as a border. It still felt a little too  plain so I added the stars. As usual I colored most of my lady here with Magical Micas by Lindy's Stamp Gang. I colored her skin with Copics and added the stockings to her legs with a water color pencil.

Wednesday, 16 November 2011

Ms. November's "Waste Not" Challenge

Hi everyone, Celina, Ms. November here with my challenge for this month. On my blog I like to have Waste Not Want Not Wednesdays where I post a card I made out of scraps from my scrap drawer. We all have those pesky little scraps we can't bear to throw away, but they always seem to linger. So my challenge is to create a card using just the scraps you have on hand. It doesn't have to be perfect, in fact I love creating crazy looking cards with little bitty scraps. Bonus kudos if you even stamp on a scrap colored piece of paper instead of a white one!

Check out what the DT did with this challenge!


If you play along with this challenge, add your take using the Inlinkz below. Double your chances for a prize by sharing it over on this thread on Bombshell's forum.


Monday, 14 November 2011

How to mask stamps & take away some detail

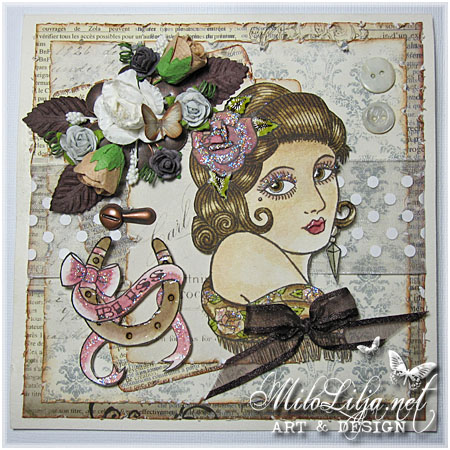
I´ve used this things to mask my stamps and
to take away the cherry.
Put the tape at the cherry, before you use
the black ink.
After ink, take away the tape and there
is no color at the cherry.
This technique have you seen many times before
I think, but I will remind you of it! =)
And, told you how to think...

ALWAYS stamp the motive FIRST
that you want to have in the FRONT.


Stamps the lady at a paper and cut her out.
(The pink paper here)
Stamp her again where you want it.
(I use white watercolor paper.)
Put the pink one, over the white one.
Stamp with the motive you want to
be masked with your lady.
I want her to sit on the bike.
It´s kind of cool, is´nt it!
But, the lady is a liiiitle bit to big,
but it does´nt matter, I love the combination.
I´ve made the same with the lady and the wings...
She looks good as a fairy girl too.
And... same thing with the flames...
A really hot chick!


Big hugs, Milo Lilja.

Saturday, 12 November 2011

Friday Mini - Tutorial on Saturday

Hey ladies and gents! I hope you are having a great weekend so far. This is Alaine here, and your regularly scheduled Friday Tutorial has been hijacked... by me. HAHAHA... Seriously.... Cheryl had planned on doing the tutorial this week, however, there was a tragedy at the store she calls her Stamping home where she teaches her classes and she has been helping out the owner. You can check it out over at the China Phoenix 2 blog. All of our support and sympathy goes out to the shop owner, and we hope they are back up and running soon.

So, I am going to fill in and post a mini-tutorial on how to use some of the littler stamps. I made this card over a year ago, and really love how it turned out. I think one of the things I love so much about the Bombshell Stamps is their versatility. Kathi challenged us to use smaller stamps and / or icons as the focus of the images. This was an amazing challenge and actually a LOT of fun.

I used several of the flowers from different sets, and I stamped them REPEATEDLY - LOL... Maybe 30-40 of them, although I did not use all of them here. Two of the flowers were from Bombshell Angel, one from Sugar Skulls and one from Butterfly Queen. I colored them with all sorts of Copic colors - I do not remember which ones, but I would guess from the looks they were either the 0X series or 1X series colors, and then cut them out. Really - the cutting them out was the hardest part, but I figure it was so worth it.

I then used Lacey Circles Nesties, and cut out some circles, and then layered the flowers in a wreath around it. I then added some more of the lacey circle nesties in the middle and added the final two layered flowers on top. I used Foam tape to adhere the flowers and the circles to give it some dimension.

This is one of those cards I look back at when I am feeling un-inspired. Mainly because I really thought outside the Box on this (get it - its a circular wreath) (And the peanut gallery groans uncontrollably).  I think this is one of the benefits of participating in the challenges here on Bombshell stamps and in other places. If Kathi had not challenged us to this one - using only the icons / smaller stamps -  there is no way I would have never gone here and I would never have ended up making one of my favorite cards that continues to inspire me.

So maybe this is not so much a tutorial as it is a "food for thought" piece.

I hope you have a great day and a crafty weekend, and please remember to send out good thoughts and vibes to Bombshell Cheryl and her friends at China Phoenix 2.

After adhering them together I wrote Be Happy on the banner and mounted it to the white cardstock with the lacey border cut with MS punch around the page.
Wednesday, 9 November 2011

Here's November's Sketch!


Here's my take on the sketch using "Girl's Ruin"!


Check out what the Bombshell Girls and Pin-ups have done with the sketch!


Laura B using "Western Gal"


Celina using Butterfly Queen
Alaine used Mermaid Treasure to decorate her card.


Alison used Harley Bikes


Would you like to win your choice of a free Bombshell Stamp set? Play along with the challenge and post a static link to your blog in the Inlinkz below. Don't have a blog? You can upload your artwork directly to the Sketch Challenge area of The Casino! Want to earn another chance to win? Post your take on the sketch below AND on the forum!