full screen background image

Friday, 21 December 2012

Bombshell Gift Bags and Cuff Links Tutorial

Hi Everyone!

It's Friday!  And if the world hasn't ended today, then you will be seeing this tutorial!  I actually have two tutorials to share, so let's get started.

Gift Bags

To make these gift bags, I stamped Bombshell images onto a muslin bag. I will be using these to package some candy that my family and I always put in each others stockings.


Supplies:
- Bombshell Stamps - Tattoo Font, Ahoy Sailor, Holiday Accessory, Lotus Garden (or any Bombshell Stamp you wish!)
- muslin drawstring bags - 3x5 inches
- Staz-On Ink in Jet Black
- index cards / smooth cardstock
- copic markers or Martha Stewart Crafts Multi-Surface Satin Acrylic Craft Paint & a small paintbrush

First I took an index card, cut it down to fit the bag and slid it in so the stamp ink won't go through the bag.

Next, I inked up my Bombshell Stamp Image and stamped it onto the fabric bag. 

Now, you could stop there if you'd like or color in the image with Copic Markers.  The markers will bleed a little so I colored lightly near the edges.  (I tried to color these with Sharpie fabric markers but I found that they bled too much for my liking and the colors were limited to 5 so I opted for Copics instead).

If you are not really a Copic Marker person, you can always use paint to color in the stamps instead!
I used Martha Stewart Crafts Paint on this bag and I really like the results.  (I just need to mix my colors better next time!)

Make sure when painting or markering your images to leave the index card or smooth cardstock in the inside of the bag also so no ink or paint bleeds through to the other side of the bag.  Once it's dry, remove the index card and fill the bag up! With candy or a small gift or whatever you'd like.


Cuff Links
Supplies:
Bombshell Stamps - Love and Luck, Tattoo Font
Staz-On Ink in Jet Black
2 - 20.5mm Natural Brass Small Square Charm Blanks
2 - Brass Cuff Link Blanks
-e6000 adhesive glue
toothpick / gloves
sand paper
tape
Staz-On All Purpose cleaner
First I taped down the edges of the brass square charm blank onto a piece of scrap cardstock.

Then I stamped on the skull icon stamp in jet black Staz-On Ink.  If you don't get it right on the first try, you can use a little bit of staz on cleaner to clean the image off of the brass charm.  Then wipe it down with a clean paper towel and let dry and try to stamp the image again.

Then I used sand paper on the middle of the back of the charm and on the small round disk on the cuff link so the glue would adhere better.  After sanding, I used a toothpick to put a little bit of the e-6000 glue onto the round cuff link disk and adhered it to the middle of the back of the charm blank and let dry for 24 hours.  (please follow the manufacturer's instructions with the glue.  I always make sure I have gloves on and plenty of ventilation when using it and where it's drying, because it does smell.)
I hope you all have a great Friday, Happy Holidays, and a Happy New Year!!!

- Kim

Thursday, 20 December 2012

Bombshell Star Ornament - Tutorial

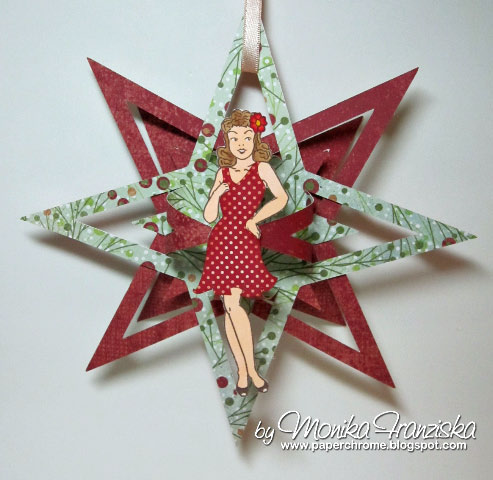
For yesterday's Bombshell Pin-Up Challenge I made a star ornament featuring the Bombshell Stamped image from the Bombshell Angel and a star ornament cutting file I created.  Here's how I made it and I'd like to share the cutting files I made.


Cutting Files:  MTC or SVG


1. Cut two stars using the star ornament cutting file.  Link to file above.   I'll recommend a double sided print.  I used some Basic Grey (Fruitcake collection) and cut it using my KNK Zing.  I designed the star cutting file using Make the Cut software.


2.  Take one of the stars and fold up or rather curl up the four cut out points.


3. Punch out two 3/4 inch circles inch circles from scraps.   Apply some strong adhesive to one.  Score Tape works great.   And join all of the points onto the circle.   Note that I used a half inch circle to begin with, but it just didn't give me enough of a bonding surface and I then applied a larger circle later.


4. Apply adhesive to the other 3/4 inch circle and adhere to the top.  Set aside. 


5.  Take the second star.  I want the solid side visible.  So I'll fold the points to the print side as they'll be sticking out the back of the ornament for more 3D.   


6.  Fold up the cut out points with a hard crease.


7.  Flip the second star over and apply some strong adhesive to the center of the piece.  Score Tape or ATG adhesive work great.


8. Join the two stars.


9. Apply a stamped and cut out image to the front of the star.  The 3/4 inch circle is your mounting point.


10.  Apply a ribbon, string, or hanger to one off the star points and you're ready to decorate.


And here's the finished product.  Note that you can resize the cutting file and cut the stars any size you like.  


Hope you like this Tutorial.
from Ms. December - Monika Franziska, PaperChrome


Wednesday, 19 December 2012

December Pin-Up Challenge: Get Ornamental

I'm thrilled to be the guest designer for the Bombshell blog.   Ever since I found out that I was selected for December, I knew we had to do a holiday oriented challenge.   Well, what better than ornaments with which to decorate your home and tree over the holidays.  So get creative and join us in making an ornament with your Bombshell stamps to help celebrate the season with a bit of a sassy punch.


and using Sugar Skulls


Rachael using Tattoo from Sacred Heart
 
Stempelientje used a variety of Bombshell stamps
 

If we've inspired you to get ornamental with your Bombshells show us what you've created or leave a comment here on our blog for a chance to win some Bombshell Goodies!


~~~~~~~~~~~~~~~~~~~~


Tuesday, 18 December 2012

Harley Ornament Card

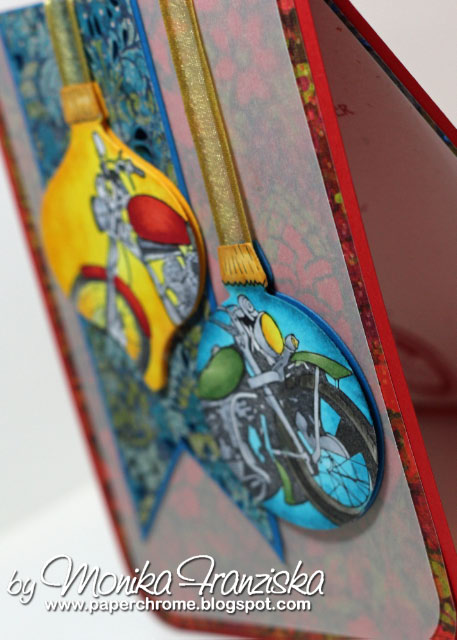
For those bikers out there, here's a card that speaks to the passion of chrome and two wheels.   I used Bombshell Stamp's Vintage Motorcycle set to create the ornaments on this card. 


Here's an angles shot to show the dimension.   the ornaments are colored using Copic markers.


And the inside of the card.  Add a stamped or computer generated greeting and another motorcycle peeking onto the card to tie it all together. 


Supplies: 
Stamps: Bombshell Stamp's (Vintage Motorcycle), CTMH (greeting)
Paper:K & Company (printed paper), cardstock, vellum
Ink: Memento (Tuxedo Black and Rhubarb Stalk)
Coloring: Copic (markers and multiliner)
Tools: Stampin' Up (dies)
Accessories: Misc ribbon.


Hope you like this card.
from Ms. December - Monika Franziska, PaperChrome

Monday, 17 December 2012

Muse Monday - Week 3 - Pin Stripes

It's Muse Monday! This month's set is Pin-Stripes, which is one of the sets in the Hot Rod Collection.

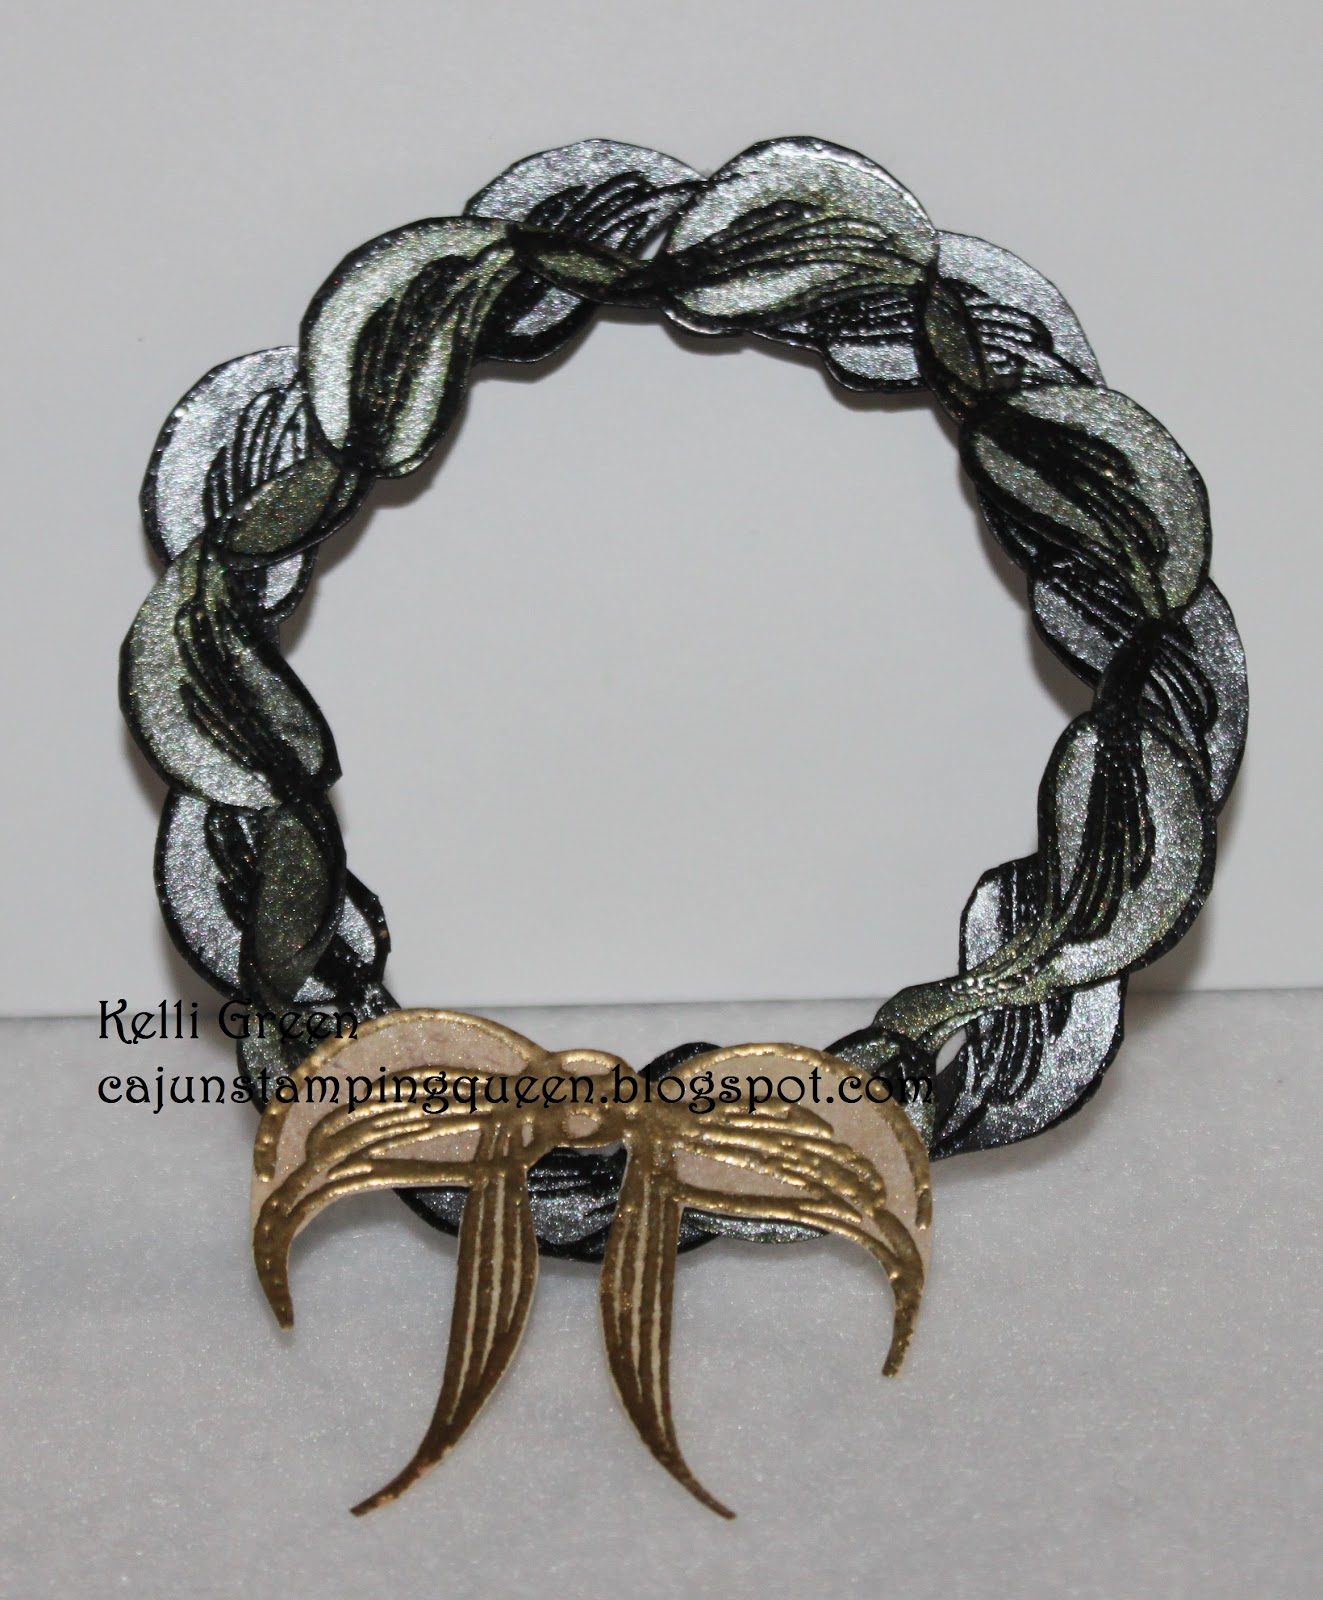
I thought they looked very regal and elegant, especially in black - I heat embossed them in a group in black on black cardstock... Jodi using Pin-Stripes.


This is Alaine and I also think that these look so elegant. I took three of them and spun them around a circle to get a star! I then added a sentiment, and a LOT of bling!!!!


Thank you all for joining us for another Muse Monday! I hope that you all have some new inspiration for different ways to use these beautiful images!

Wednesday, 12 December 2012

December's Sketch Challenge!

Here's December's Sketch that would be perfect for those last minute holiday cards or even a gift, such as a calendar, wall hanging, or the top of a box!


Please feel free to flip it, flop it, and make it your own. Just as long as you use your Bombshell stamps and have fun with it, it's good!

Be sure to use the Inlinkz below to share your creation with us AND have the chance to win the fabulous prize of a $20 gift certificate to the Bombshell Stamps store!

Here's what the Bombshell Girls and Pin-ups did with this sketch!


~~~~~~~~~~~~~~~~~~~~~~~~~~~~~~~