


Greetings Glorious Bombshells!! I'm here with you today to show you how to create a Faux Letterpress look to create your own coordinating background papers with any of your projects. I must give credit to Jennifer McGuire as I recently learned this technique when I took her On-Line Card Class - Inspiration Showcase. It's SO easy with a great end result!
Let's begin!

First you need to gather just a few very basic supplies. Paper, ink (any kind will do), any brand of plastic embossing folder and which ever die cut machine you use.
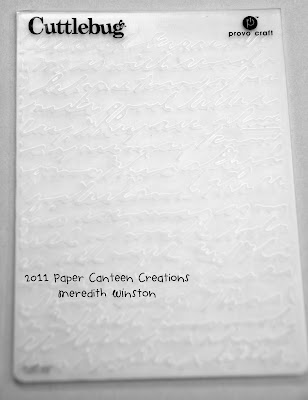
I chose a dye ink as well as a chalk ink. I like to play around and experiment with different inks. Depending on where you want your ink will depend on which side of the embossing folder you rub your ink pad on. If you want the ink in the recesses of the embossing you will rub the ink on one side of the embossing folder, like this:

You will then add your paper, quickly close the folder making sure to hold it closed so that the paper doesn't wiggle around (this will reduce smearing) and then run it through your die cutting machine using which ever "sandwich" works for your machine and embossing folders.
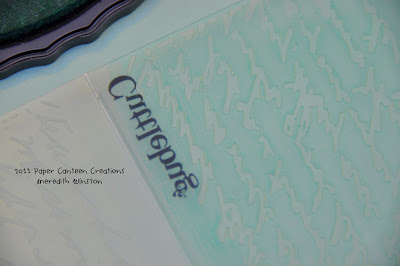
Here is the end result when you open your folder:

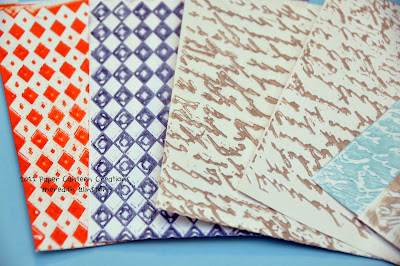
See how the ink is in the recesses of the image? Super cool! I went ahead and inked up the other side of my folder with my chalk ink:


And here is my finished example! Clearly I have Halloween on the brain! I kept my design VERY simple as I really wanted to show off that cool Faux Letterpress background.

I hope you have enjoyed this technique!
Really cool tutorial!:) I'm definitely going to have to try it.
ReplyDeleteWow, Meredith! What a great technique! I see lots of fun projects using this tutorial. Thank you for sharing it with us ;D
ReplyDeleteMeredith. I love this! This is really cool. Thank you so much for sharing it.
ReplyDeleteDefinitely going to try this Meridith. Thanks for the tutorial.
ReplyDelete