

This is my very first tutorial for a simple project that is loads of fun. You can do so much with this little bottle cap bombshell.
Here are a list of the necessary supplies:
Bottle cap
Rubber Mallet
Bombshell Stamp
Coloring Medium of Choice
Glossy Accents
Necklace Bail
1" Hole Punch
Ink Pad
Card Stock

To begin this project you will need to flatten your bottle cap. Use the rubber mallet and whack the cap hard against a stable surface. I can use my sturdy craft desk but I have also done this out on the porch. This step is not necessary if you prefer to use the inside of the bottle cap and not flatten it.

Stamp your chosen bombshell, Bombshell Angel onto card stock. We will only be using her head for this project.

Color in the portion of the image you will be using. Do not forget to color around her head as that will be your background.

Next, punch out the head. Center the image in your punch by using your punch upside down.

Glue the image to your bottle cap using the Glossy Accents. Use which ever side of the bottle cap you prefer.
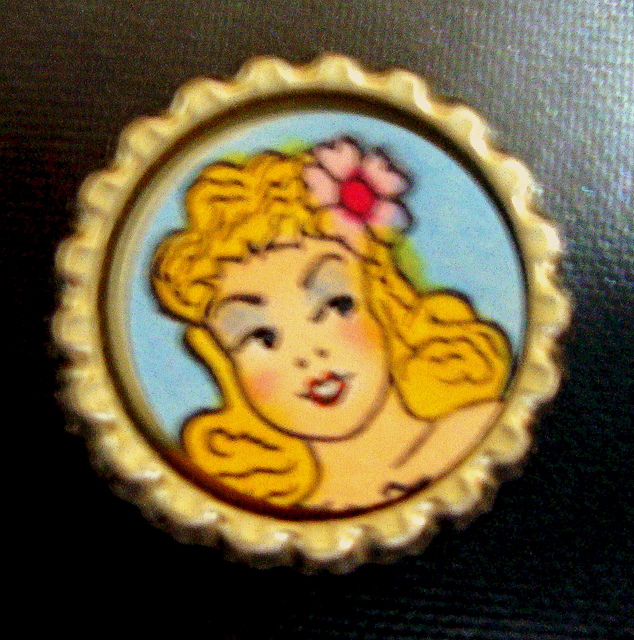
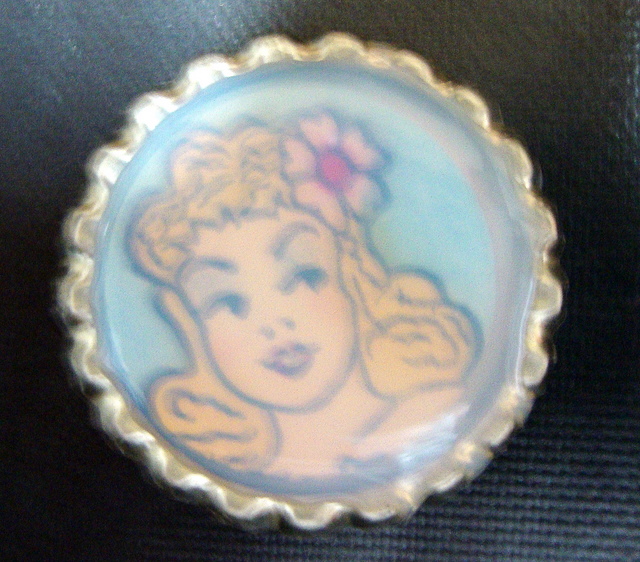
After gluing the image to the bottle cap cover it with Glossy Accents. Slowly squeeze the glue bottle till the image is completely covered and the glue has reached the side of the bottle cap. Do NOT over fill the cap with glue. This step is the longest as it takes several hours or over night for the glue to completely dry. Do not be tempted to touch your image to see if it is dry; you will leave finger prints. (Ask me how I know.) When the image is clear the glue is dry.
The final step is to glue on the necklace bail. Turn the bottle cap over glue the bail on using the Glossy Accents. I place my bottle cap on an acrylic block or wooden stamp so that it is not lying flat. This allows the bail to glue on evenly.

After the glue has tried. String your new Bombshell charm onto a chain or ribbon and wear proudly.

This is AWESOME!!!!!!!!!!!! I cannot wait to try!!! Thank you for the amazing tutorial!!
ReplyDeleteHugs!
Meredith
Cute, cute!!! What a fun project!! Great little gifts!
ReplyDeleteFabulous tutorial Sparkly Mary! This shows you why you're the "Engineer".
ReplyDeleteI think I'm going to give this a go to make a keychain!
thankyou! I am soooo making a heap of these!
ReplyDelete